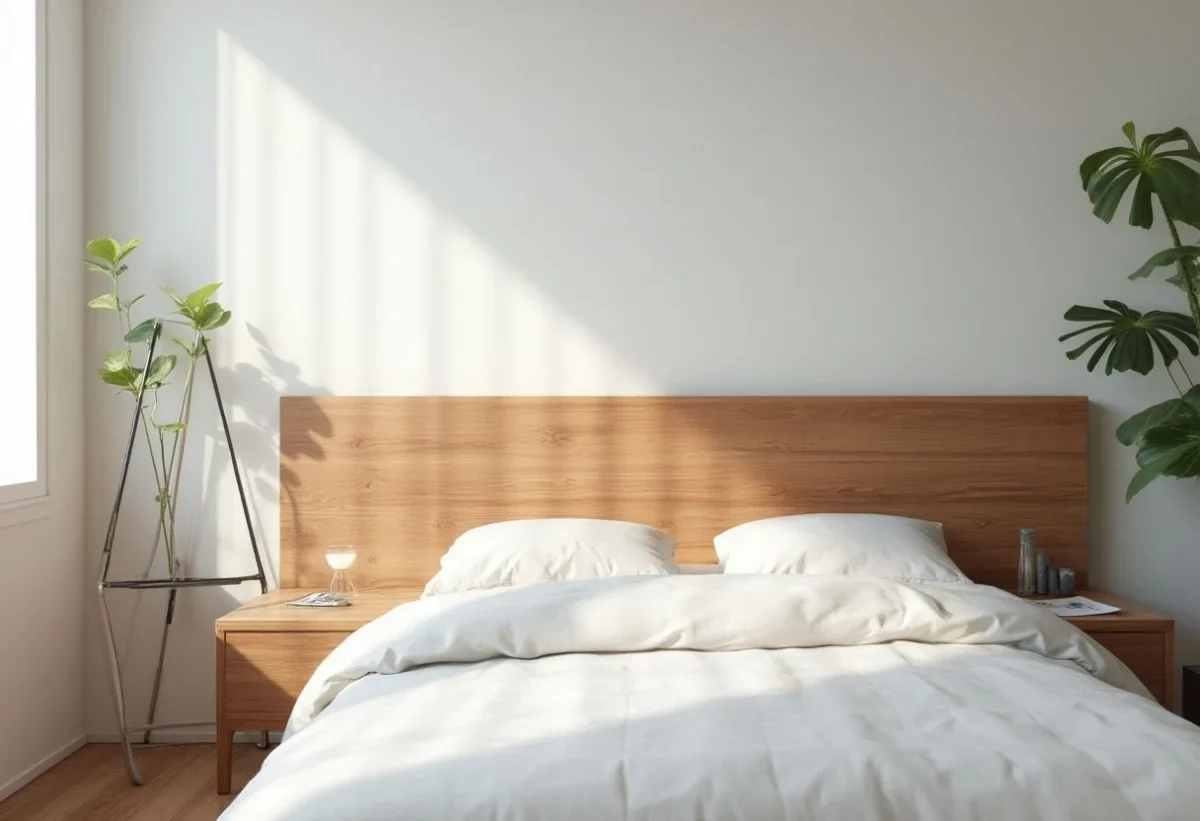
Elevating the design of your bedroom by adding a wooden headboard with storage is not only an elegant approach but also a functional one. By choosing to build it yourself, you transform an ordinary room into a personalized and optimized space. Wood, noble and warm, adds a timeless dimension to interior decoration. By integrating storage, you maximize space while keeping your belongings within reach.
Materials and tools needed
Before starting, it is essential to gather all the materials and tools necessary for creating your headboard with storage. Careful preparation ensures a smooth and hassle-free job.
- Materials: you will need wooden panels, preferably pine or oak for their durability and aesthetics. Don’t forget screws, wood glue, and brackets for a solid assembly.
- Tools: equip yourself with a circular saw, a drill-screwdriver, a tape measure, and a spirit level. A hammer and screwdrivers complete this list.
Also take the time to find inspirational models, and understand how to build a headboard by consulting, for example, this source here.
Design and planning
Design and planning are essential steps in the construction of a headboard with storage. They will allow you to visualize the final project and anticipate any constraints.
- Measure the available space behind your bed to determine the size of the headboard.
- Sketch a detailed plan, including the dimensions of the shelves and storage compartments.
- Determine the number of compartments you wish to integrate and their dimensions.
Building the structure
Once the plan is established, it is time to move on to construction. This step requires precision and attention to ensure a robust and stable headboard.
Start by cutting the wooden panels according to the previously defined dimensions. Assemble the main structure by fastening the pieces with screws and wood glue. Add the brackets to reinforce the corners. For the storage, build shelves or niches, ensuring they are well proportioned and aligned with the main structure. A spirit level will help you check the horizontality of the whole.
Finishing touches and personalization
The final step is to add the finishing touches that will transform your headboard into a true work of art.
- Apply a varnish to protect the wood and enhance its natural beauty.
- For a more modern look, opt for a neutral paint or even a wallpaper for an original texture.
- Add decorative elements like metal handles or knobs for an industrial style or carved details for a more classic look.
- Install integrated LED lighting for a warm and practical atmosphere, especially for reading at bedtime.
By making a wooden headboard with storage, you combine utility with pleasure while adding a personal touch to your resting space. It’s an undertaking that may seem ambitious but proves rewarding once completed. Each step, from choosing the wood to the final assembly, is an opportunity to exercise your creativity and craftsmanship.